More Renovations

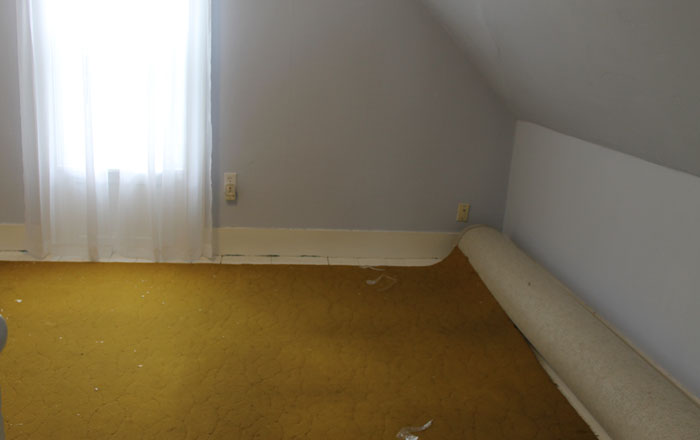
First layer of carpet is rolled up, second layer ready to go!

We are gradually making headway with the house renovations. It is a big job but we are making progress. Next on our list after Peter replaced 22 windows was to tackle the floor in our bedroom, get rid of the old carpet and paint the floor.

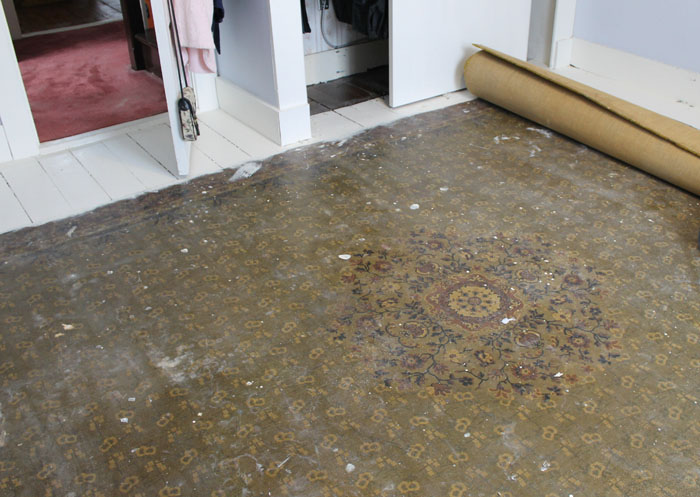
Second layer rolled, old linoleum revealed.

The carpet was not wall to wall, it was meant to be but it was too small so it was just there! We knew that there was a second layer of carpet underneath, smaller than the first. We moved all the furniture out and proceeded to roll up the two layers of carpet. Our incentive was "spring clean-up" day when we could put anything out at the curb for pick up!

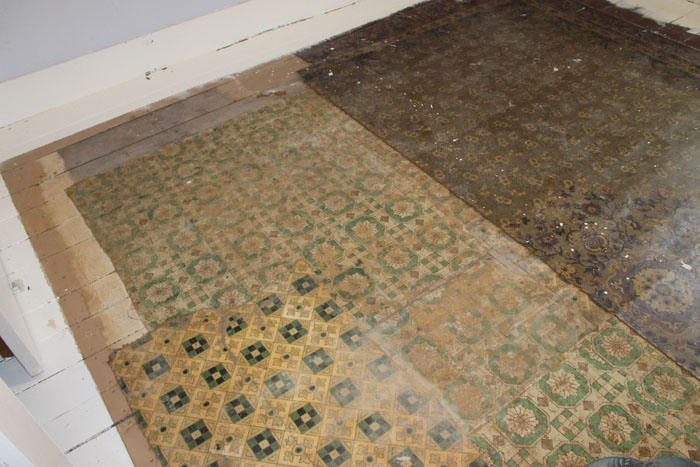
Several layers of printed oil cloth

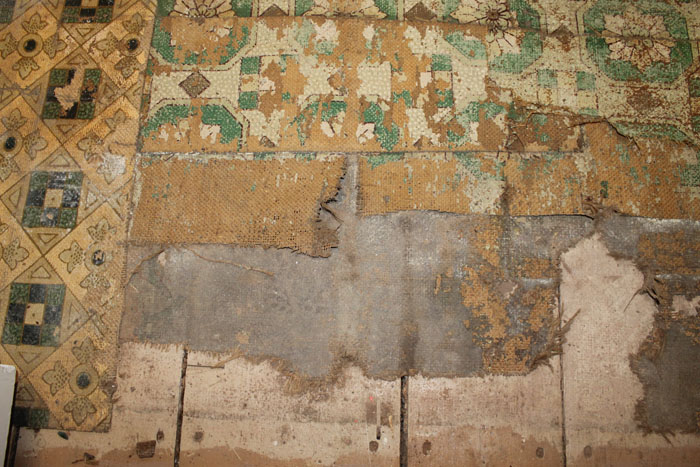
Closeup of the oil cloth exposing the burlap backing

When we started to roll up the second layer of carpet we realized there was a layer of linoleum. It was quite brittle, no idea how long it had been there. As we started to roll we soon saw more layers underneath. We realized they were a printed oil cloth, at least three different patterns. It was stuck together in several places!

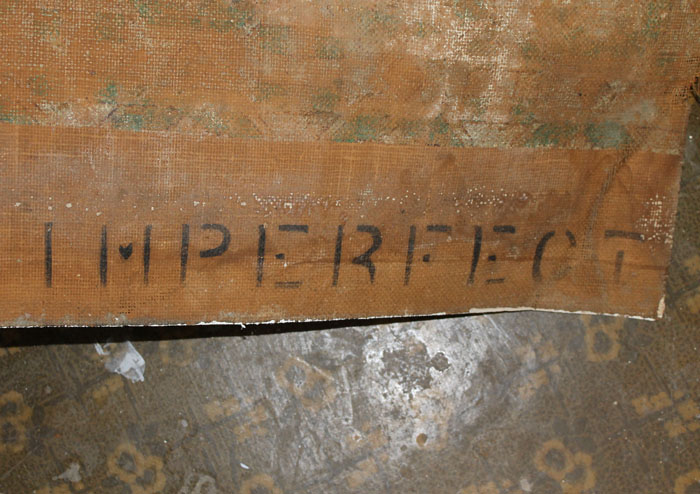
Some of it was "imperfect"!

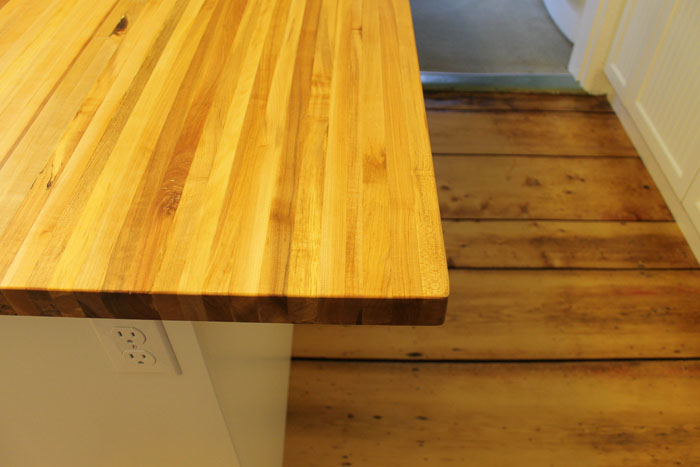
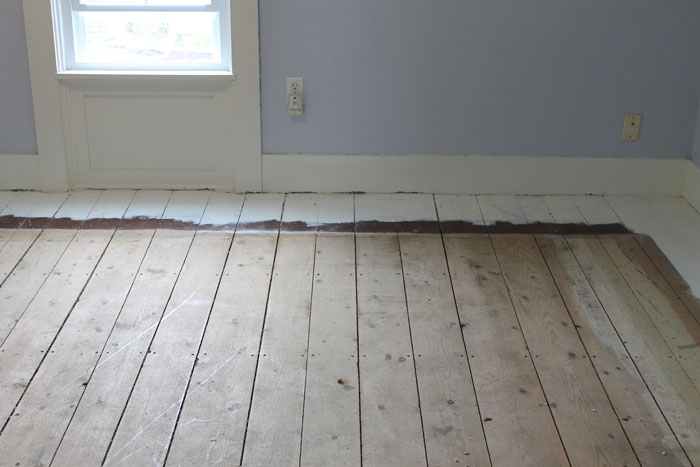
Not as much variety in the width of the floorboards as there is downstairs.

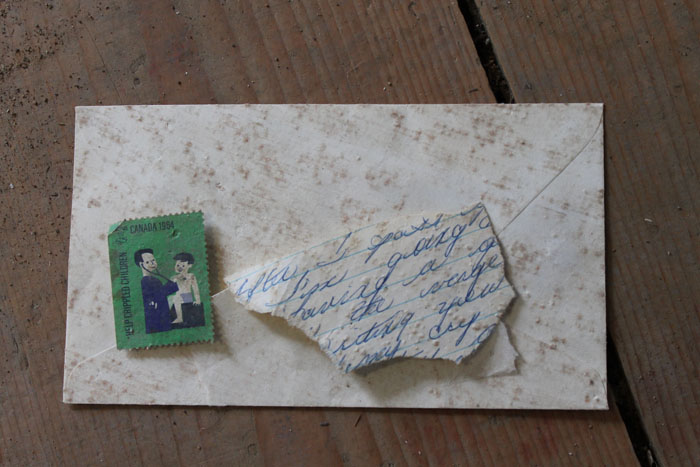
A few treasures found, a 1964 stamp - the year my family moved to Nova Scotia from Toronto!

It was great to get it all up and out of the house, much healthier for sure! The floorboards in the middle had never been painted so Peter did one coat of primer then 3 coats of paint. We decided to keep it light and airy and I think it worked!
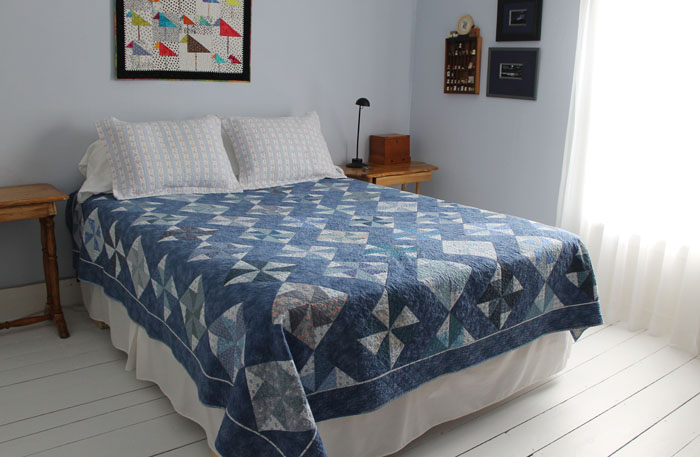
All done!

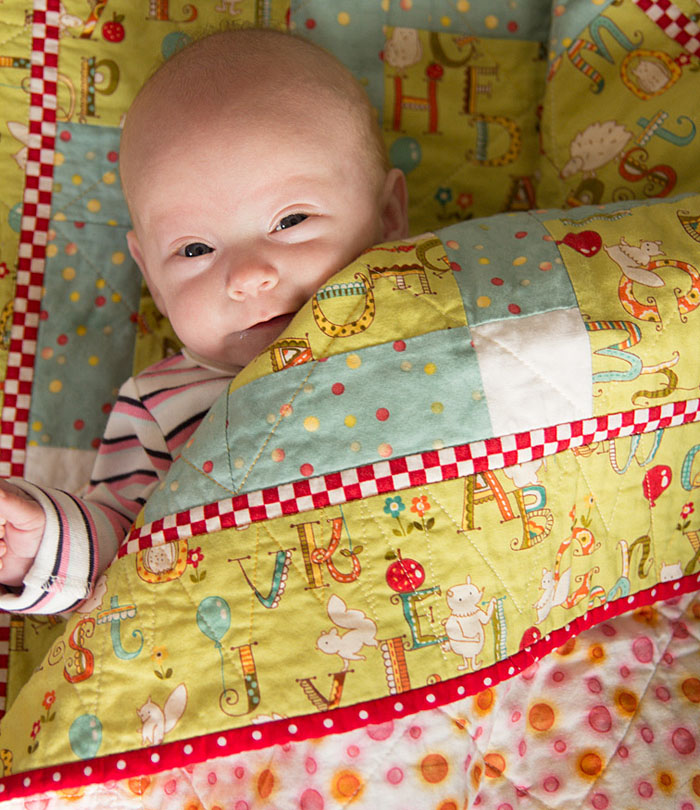
For now the walls will stay blue, goes well with my "Herringbone Blues" quilt. The quilt is machine pieced and machine quilted by Donna Hazelton (Digby), she did a super job. The walls will eventually be repainted. They were wallpaper at one time and were painted over, as were a number of walls in the house. That is going to be quite the job to strip the painted wallpaper, a job for another day!

Fabric Travels & the Kitchen Reno Adventure

Last year when I was in Calgary, I visited all my favourite quilt stores. Each one is very different. At Sewing Sensation, I spotted a bolt of fabric that had just arrived, it wasn't even on the shelf yet. I had to have some. I loved the whimsy and the colours. I brought it home and added it to my stash, knowing it would be useful one day.

Then a few months ago, a baby was born prematurely, she is the niece of a dear friend of my daughter's who lives in Tasmania. Olivia was very tiny and had to spend many weeks in the hospital. Memories of Liam flooded back when I saw the pictures of this tiny baby. Had Olivia been born here in Halifax, Nova Scotia she would have received a preemie quilt, a gift from the quilters of several local quilt guilds. I decided to make her a quilt and send it to Tasmania. I decided to use that fabric I had bought in Calgary.

As I started to cut and sew I cut off the selvedge to add to my stash of selvedges. The name of the fabric is "Mind Your P's and Q's" and the designer of the fabric is "Keiki", it was made in Japan. Although Moda has information about their fabric designers, I couldn't find out anything about "Keiki". I began to think of the journey the fabric had taken, It was designed and made in Japan. Who knows where the cotton came from, it could have been anywhere cotton is grown in the world. Moda is an American fabric company that began almost 30 years ago. So the fabric would have come from Japan to the US then shipped in my case to Calgary where I bought it and brought it back to Nova Scotia. After cutting and sewing, then quilting it the quilt made it's way to Tasmania about as far away as possible from Nova Scotia. I have no idea how many miles that fabric has travelled but it must be alot!

Olivia snug and warm for a Tasmanian winter!

Thanks to my friend Phyllis who took the quilt with her to Tasmania when she went to visit her daughter. More pictures of Olivia's quilt are on my Flickr page here. Thanks Alison for the wonderful pictures!

In other news, our kitchen is almost done! Just the exhaust fan for the stove to go in, some tiling to do and a grate for the cold air return. It has been a great experience working with our kitchen/floor guys at Woodshapers and Brady and Clayton our electrician and plumber. It was a bit of a challenging space with 7 doors! We are now down to 5 doors and it is going to work just fine. I love the butcher block that was handmade using local NS wood (maple, yellow birch and white birch).

The new and the old! The floors are spruce, some of the boards are 14" wide, the are well worn with lots of character.

Beauty!

Crisp and bright, more pictures to come soon. The dining room floor will be sanded and refinished next (it is the same wood as the kitchen) then painting, new windows...the list goes on and on!

Progress

Well, progress is being made. We now have running water (and a dishwasher!) and electricity. The floor is done and looks beautiful, we are so pleased with it and I am so grateful Peter persevered to get up the 6 layers of various floors from the past. Removing the old cabinets revealed many layers of this kitchen's past life right back to the wide board wainscoting to the 5 or 6 layers of old wallpaper. There must have been an old oil cook stove at one time which leaked in a corner and stained the floor black. Some came up but we didn't worry too much as the refrigerator and cabinet covers most of it. 

New window, wide board wainscoting and some wallpaper

Patching and covering up the old 60's wood panelling

The door is gone

Painting is done, Dusty Miller walls though not much will show when the shelves and cabinets are installed

Old floor revealed

First swipe with the sander

Rick did a super job


First of three layers of verathane

The bones of the cabinets

All ready for butcher block (handmade using NS wood), sliding shelves and doors. 

We'll see more progress this week, the cupboard doors and drawers are being painted off-site. The pantry cupboard will have sliding shelves - finally some easy access storage!