
I learned how to sew these narrow borders many years ago from my quilting friend Kay Phillips. Since then I have used this technique on almost all my quilts and wallhangings. I have passed the technique on to many people but this is my first attempt at sharing a "how to" on my blog. If you have any questions, email me! But my best advice is to try this first a couple of time with 3 strips of fabric, one for the "quilt", one for the 1/4" border and one for the next border.
1. First border - any width - sew on as usual and press seam towards outside edge.
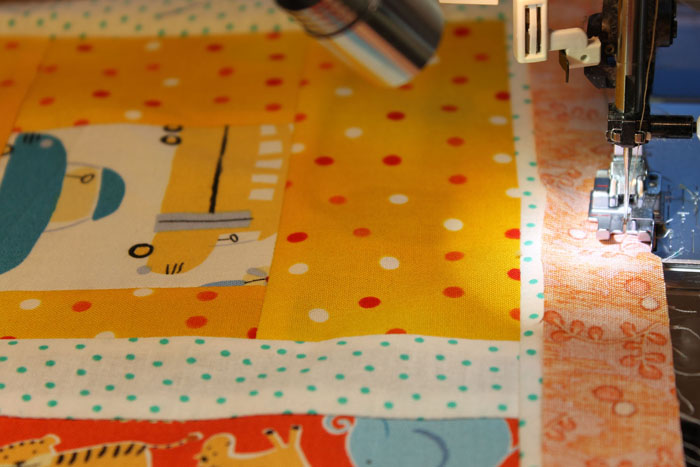 1" strip being sewed, this will become the 1/4" finished border
2. Second Border - 1/4" (finished width) - cut border 1" wide - sew to first border with 1/4" seam allowance. Press seam to outside edge.
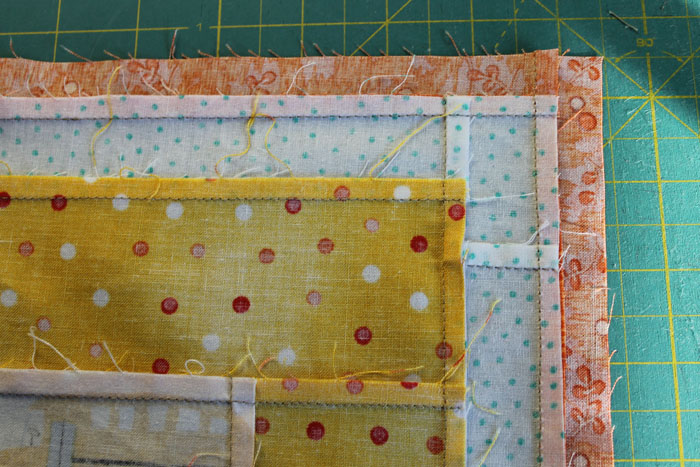
 1" strip has been sewn on all 4 sides and pressed
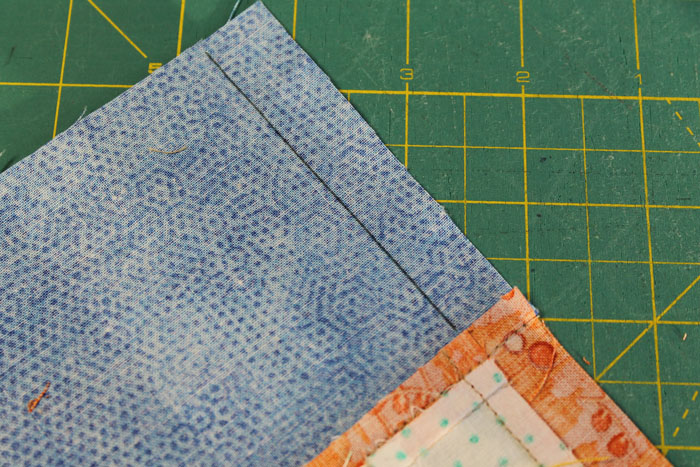
3. Third border - Cut desired width BUT allow an EXTRA 1/4" seam allowance. To sew the third border on - lay your piece wrong side up (i.e. the side with the most information), the third border strip is underneath (probably the opposite to what you would instinctively do). The stitching from the last seam sewn will be visible - line up the left edge of the presser foot so it will run against the stitching of that earlier seam. It should be 1/4" away. Stitch. Sew opposite sides on first, in same order as your 1/4" border.
 The next border is underneath, sew at the edge of the previous seam, 1/4" from the stitching.
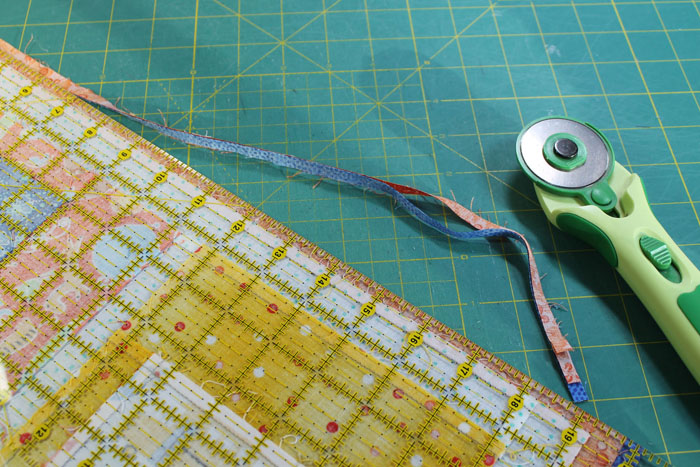 Trim away the excess seam allowance
4. That seam will have a 1/2" seam allowance and can be trimmed to 1/4", after sewing, to reduce the bulk. Press to outside edge. 1/4" border can be reduced to 1/8" simply by trimming the second border seam allowance to 1/8" after you have sewn it. Then using this 1/8" seam as your guide, stitch as in the instructions for the third border and you will have a 1/8" border. Great for minis! Care to try 1/16"!!
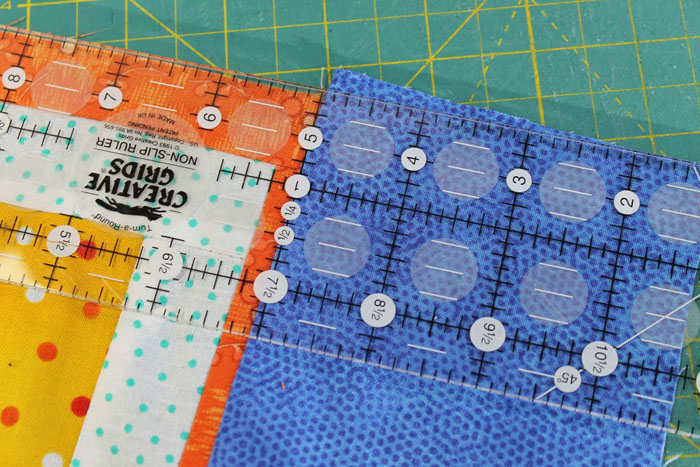 Sew opposite sides of borders on first, then trim ends. For wider borders draw sewing line by lining up your ruler with the edge of the seam allowance.
 Sewing line is marked
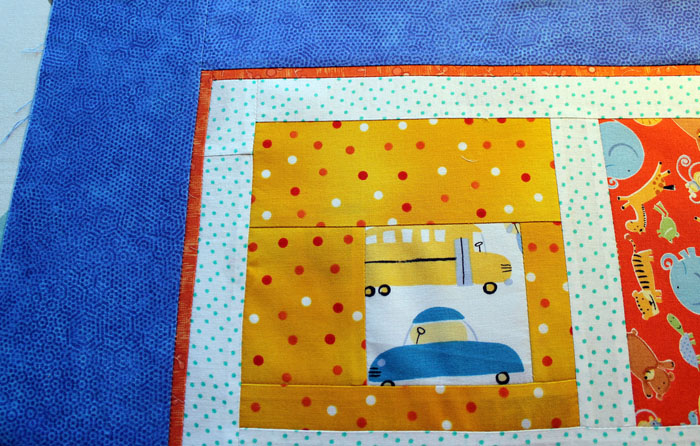 Last border is added, seams are pressed to the outside
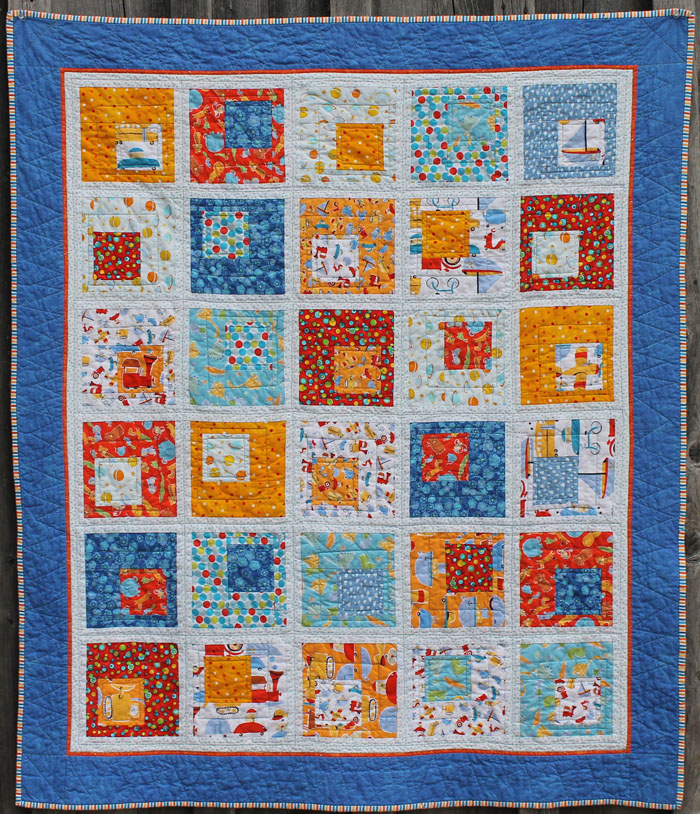 The finished quilt "Cars and Trucks and Things That Roar" which is based on the quilt "Building Blocks" which can be found at the Moda Bakeshop. The quilt was designed by Hyacinth Designs Another example of this fun pattern can be found on this post. As much as I like Moda's pre-cuts both these quilts were made from fabric in my stash, cut to the requirements in the pattern.
If you would prefer a pdf of this technique please email me.