Penguins, Quilts and Little People

We are back by the sea after a couple of weeks breathing the mountain air in the wild west, otherwise known as Calgary, home of our grandchildren! It was a busy 2 weeks getting to know our 4 month old grandson Marcus (who is just a delight!),

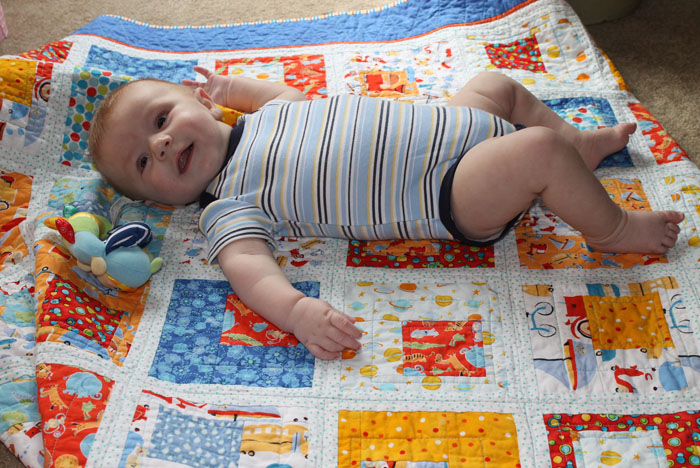
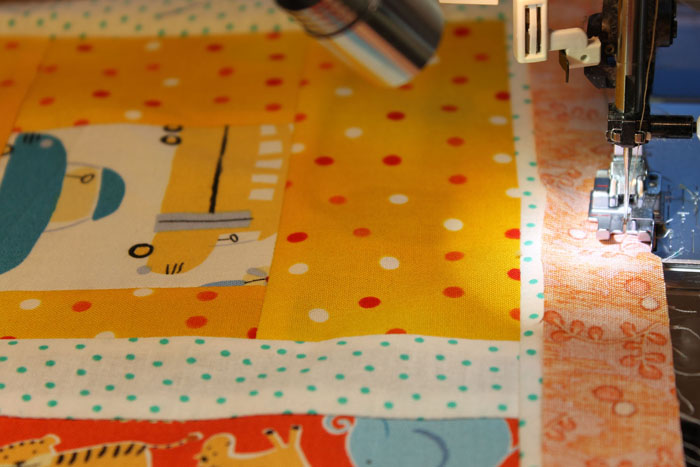
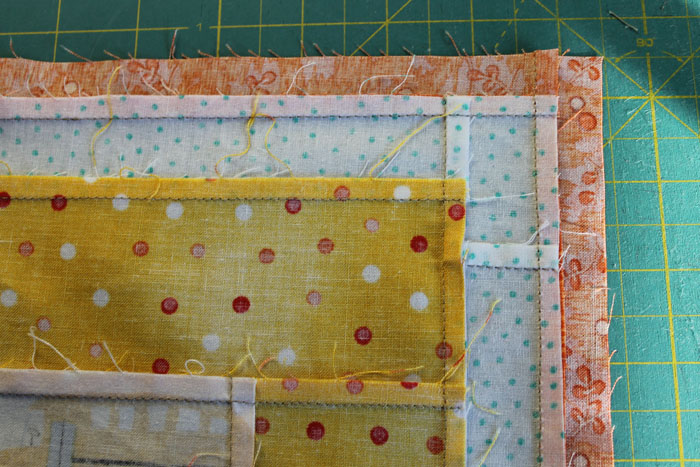
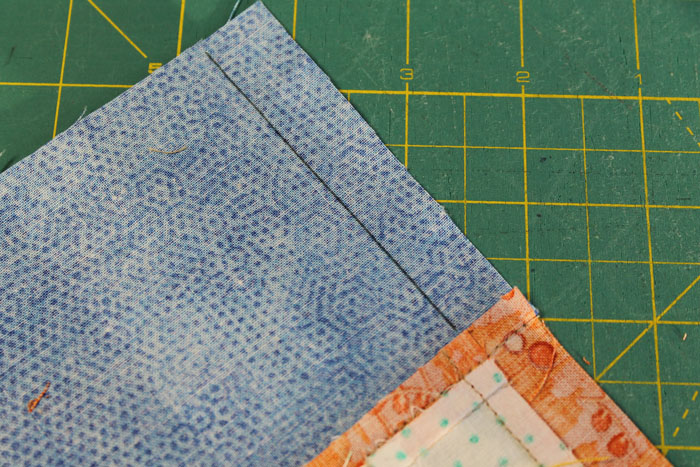
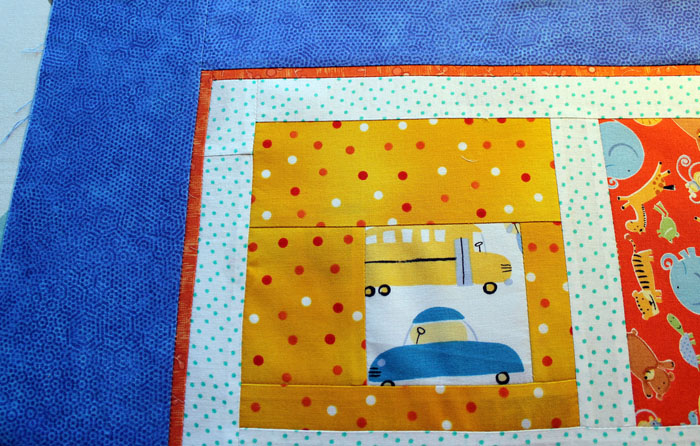
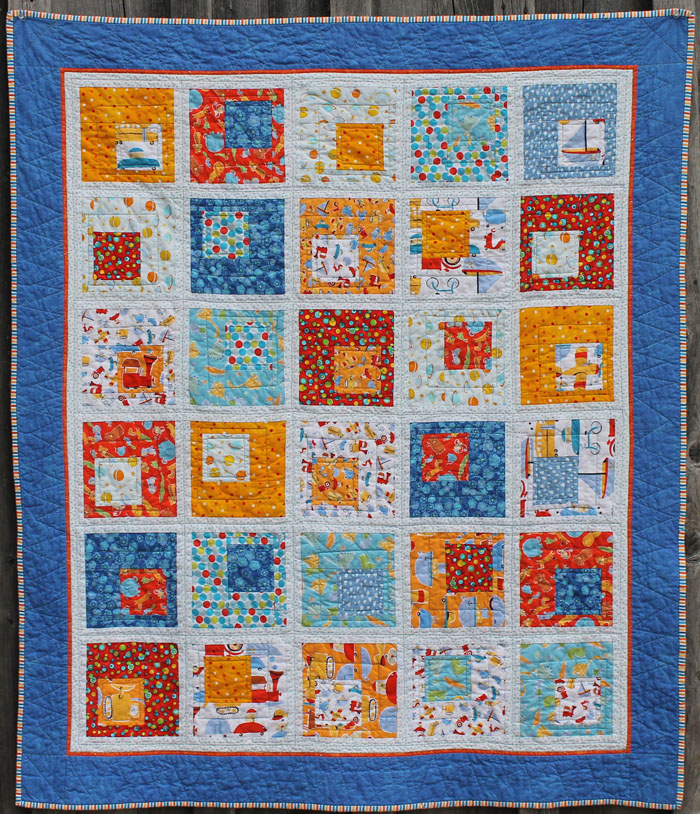
Marcus and his new quilt Cars and Trucks and Things That RoarWe celebrated granddaughter Molly's 6th birthday.
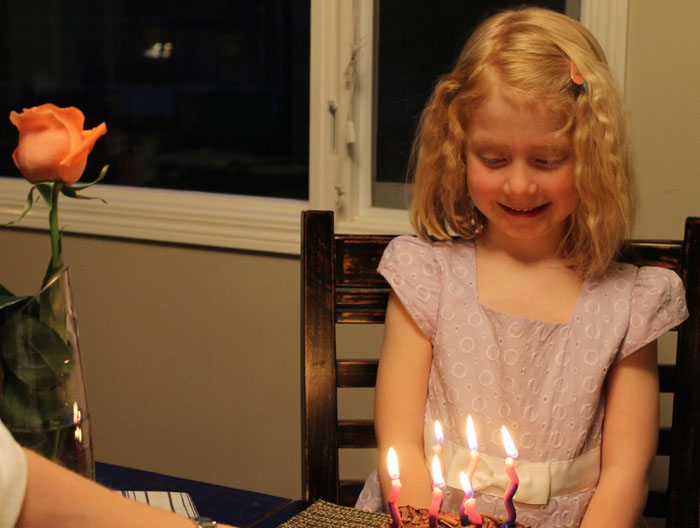
Six big candles!

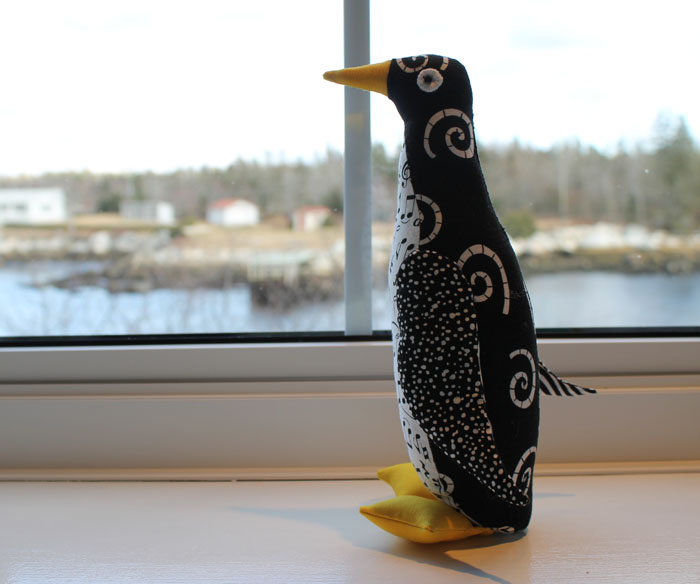
We visited the new penguin enclosure at the Calgary Zoo (well worth the hour and a half wait) and visited the new Telus Spark Centre. We also managed 2 visits to the wonderful Calgary Farmers Market and 4 of the Calgary quilt stores, one of which I went to twice!

I had a lovely lunch and visit with Calgary quilter Cheryl Arkison who gave me a copy of her wonderful new book Sunday Morning Quilts. I was fortunate to be asked by Cheryl to test one of her patterns which I really enjoyed doing. 

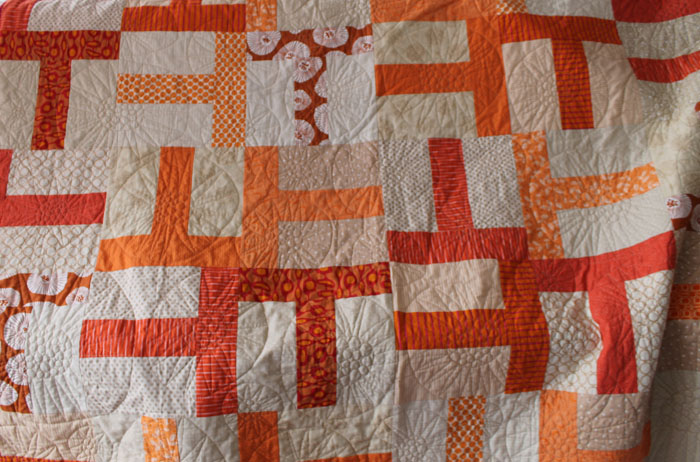
T Quilt, machine pieced and machine quilted by Cheryl.

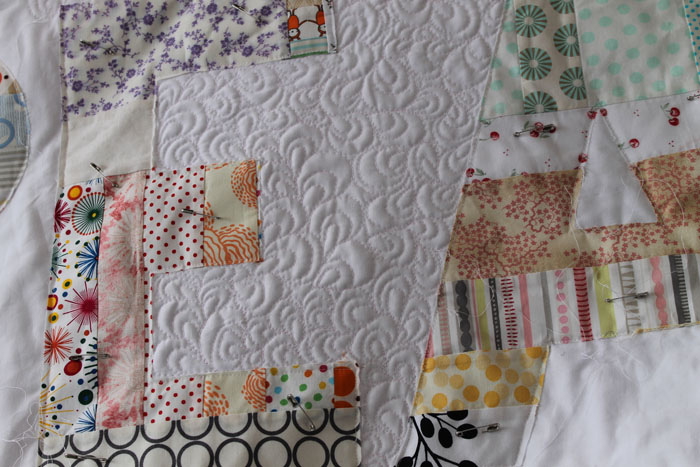
Dream Big, machine piieced and machine quilted by Cheryl

A big highlight of the trip was going to the Saddledome for an NHL game, the Calgary Flames vs the Winnipeg Jets. This was the first time these 2 teams had played each other as they play in different divisions.

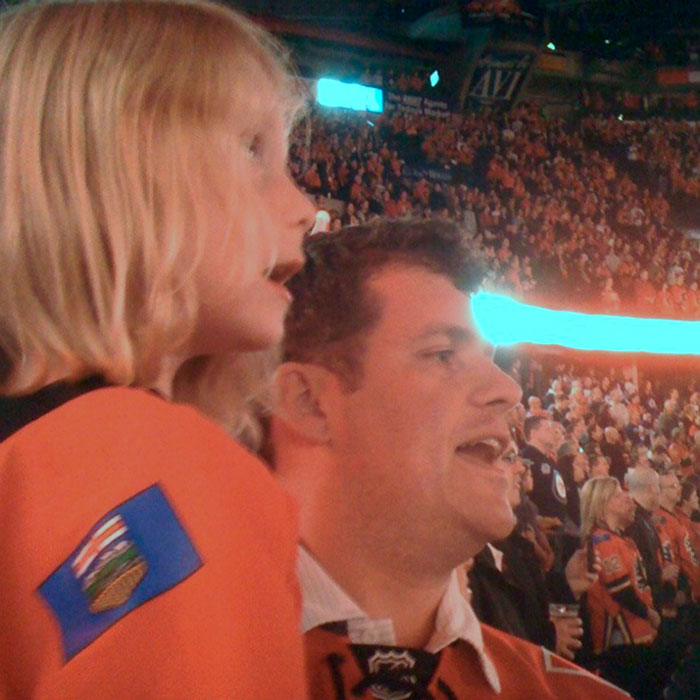
Andrew and Molly singing O Canada with 20,000 other fans!

The atmosphere was electric as the arena filled with almost as many Jets fans as Flames fans. Molly is a keen hockey fan and was dressed appropriately in her team jersey with purple pants and accessorized with pink cowboy boots (with fringe!). The highlight for her was 2 hugs from the team mascot "Harvey the Hound" and getting on the Jumbotron!

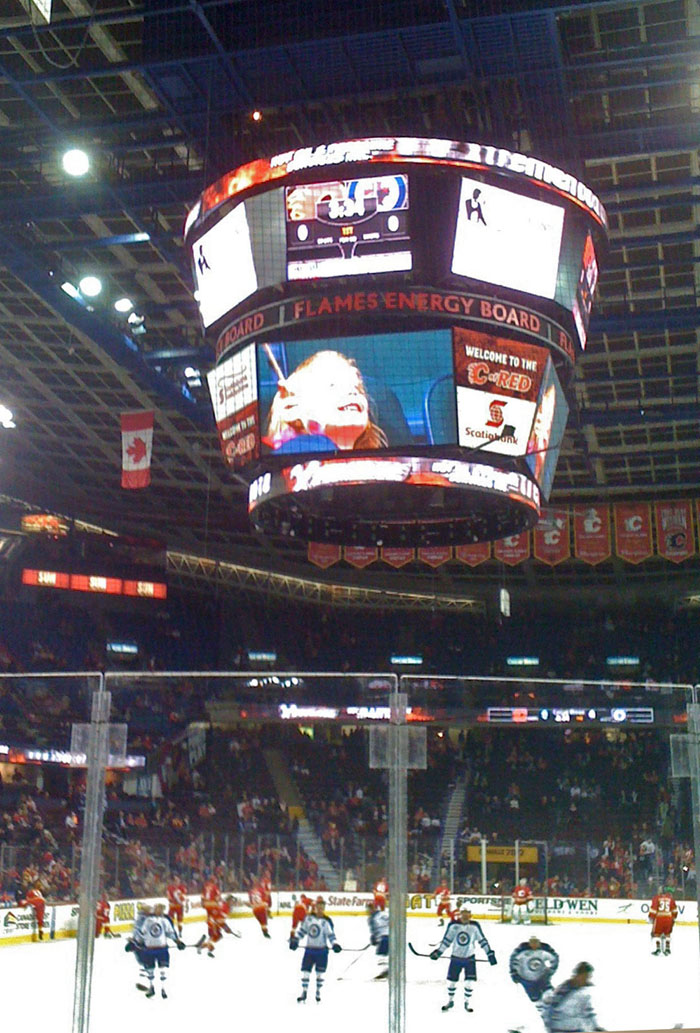
Molly waves her Flames flag on the jumbotron. Oh, Calgary won 5-3!

I could write a whole post on the Calgary quilt stores. As always Traditional Pastimes was as welcoming and enticing as ever. They had just received a huge shipment of fabrics and there were bolts everywhere. The staff is always so interesting to talk to and always very helpful. I can't believe I forgot my camera, I had every intention of going back but the 2 weeks just flew by too fast.

But I think the highlight for me this time was Out of Hand, Deirdre, the owner, always welcomes us with open arms and has remembered us each time we have been there. What impressed me so much this time was their stock and display of ribbons!

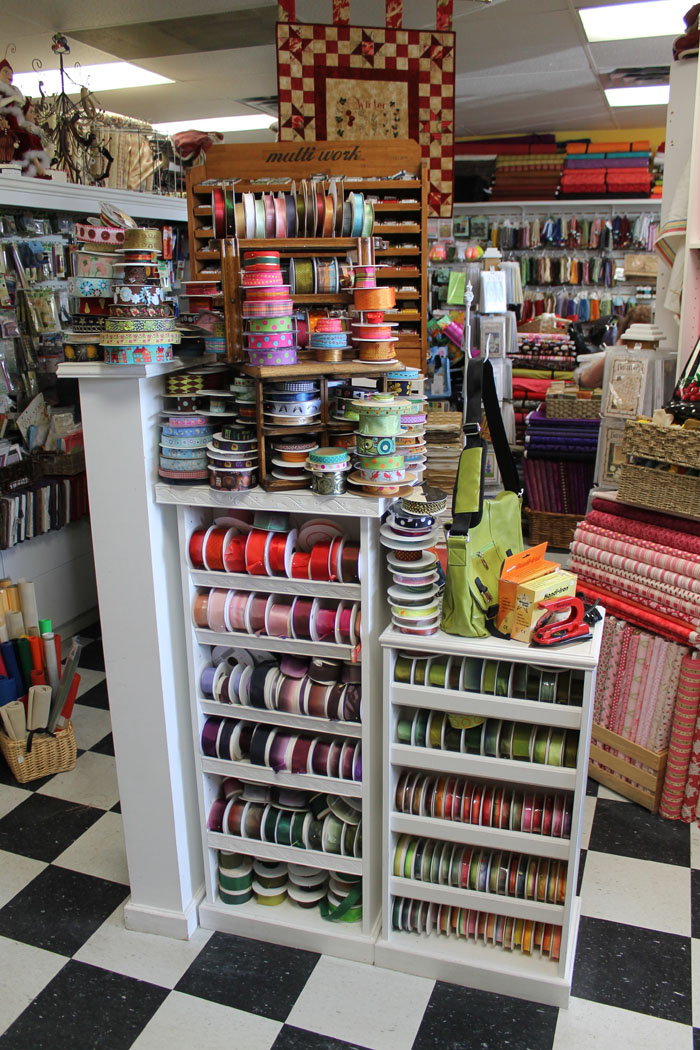
Love the black and white floor!


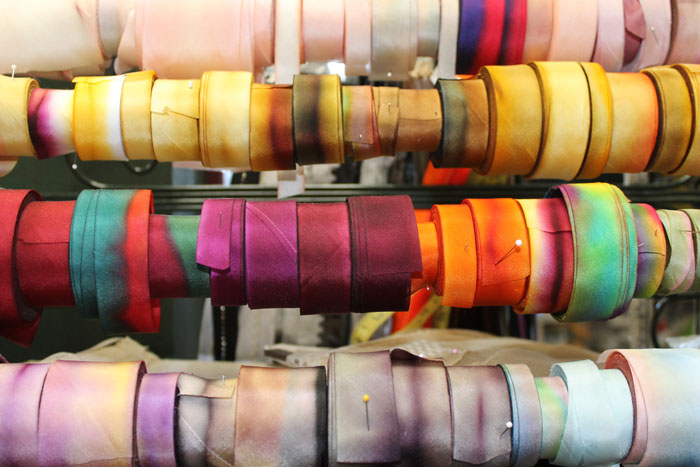
Beautiful silk ribbons!

It was fantastic! I was so overwhelmed by the choices, colours, patterns and designs. Ribbons were stacked and displayed in every nook and cranny! I declared that Out of Hand wins the award for the best use of space of any quilt store I have ever been in. Be sure and check out all my pictures on my Flickr page (link to the left) and see if you agree. And if you are ever in Calgary, visit Out of Hand, you won't be disappointed and say hello to Deirdre for me!

Narrow 1/4" Borders - a "How To"!

I learned how to sew these narrow borders many years ago from my quilting friend Kay Phillips. Since then I have used this technique on almost all my quilts and wallhangings. I have passed the technique on to many people but this is my first attempt at sharing a "how to" on my blog. If you have any questions, email me! But my best advice is to try this first a couple of time with 3 strips of fabric, one for the "quilt", one for the 1/4" border and one for the next border.

1. First border - any width - sew on as usual and press seam towards outside edge.

 1" strip being sewed, this will become the 1/4" finished border

2. Second Border - 1/4" (finished width) - cut border 1" wide - sew to first border with 1/4" seam allowance. Press seam to outside edge.

 1" strip has been sewn on all 4 sides and pressed

3. Third border - Cut desired width BUT allow an EXTRA 1/4" seam allowance. To sew the third border on - lay your piece wrong side up (i.e. the side with the most information), the third border strip is underneath (probably the opposite to what you would instinctively do). The stitching from the last seam sewn will be visible - line up the left edge of the presser foot so it will run against the stitching of that earlier seam. It should be 1/4" away. Stitch. Sew opposite sides on first, in same order as your 1/4" border.

The next border is underneath, sew at the edge of the previous seam, 1/4" from the stitching.

Trim away the excess seam allowance

4. That seam will have a 1/2" seam allowance and can be trimmed to 1/4", after sewing, to reduce the bulk. Press to outside edge. 1/4" border can be reduced to 1/8" simply by trimming the second border seam allowance to 1/8" after you have sewn it. Then using this 1/8" seam as your guide, stitch as in the instructions for the third border and you will have a 1/8" border. Great for minis! Care to try 1/16"!!

 Sew opposite sides of borders on first, then trim ends. For wider borders draw sewing line by lining up your ruler with the edge of the seam allowance.

 Sewing line is marked

Last border is added, seams are pressed to the outside

The finished quilt "Cars and Trucks and Things That Roar" which is based on the quilt "Building Blocks" which can be found at the Moda Bakeshop. The quilt was designed by Hyacinth Designs Another example of this fun pattern can be found on this post. As much as I like Moda's pre-cuts both these quilts were made from fabric in my stash, cut to the requirements in the pattern.

If you would prefer a pdf of this technique please email me.

Cove Quilters Challenge

Early in December, one of our bee members, Sandra, suggested we have a challenge. She had bought a copy of the Twelve x 12 Challenge book and was very inspired by what this group of art quilters had done. She suggested our bee should embark on a bit of a challenge with a finished size of 12" square, we should try out some new techniques and it had to be done by January 25. She suggested our first theme be "birds".

Top, left to right - Vicki, LindaH, Linda M, Barb, Heather, Donna, Sandy and Sandra

Eight of us took her up on the challenge and though we gather bi-weekly we didn't bring our challenge to bee or discuss them. We had the grand unveiling at Sandra's last week. We were delighted to have our long distance member Heather join us via Skype. This was the first time we tried it and it worked very well.

My challenge is called "The Empty Nest". I was inspired by a post on Jane Sassaman's blog for the bird's nests she made for her Christmas tree. It was fun to make and I will do some for next Christmas for our tree. The background of the block I cut and slashed and inserted the branches, if I was doing it again I would make the branches more irregular. The leaves are raw edge applique and I did a bit of machine quilting. a fun and quick project once I had the plan! Vicki is keeping a journal of each piece and what she did, techniques used along with notes of what worked or didn't. I must do that before I forget.

Sandra, Jane, Donna, Sandy, Vicki, Linda, Terry and Heather visiting via Skype!

Our next challenge is based on chocolate and candy! Linda gathered a selection of chocolate bars and candy and put them in a bag. We each drew one to use as our inspiration or theme. Some of us are going to be really challenged! Mine is a Mars bar!

We drew for Heather and she got the box of Starburst candies. Sandra outdid herself with "bird" themed treats - birds nest cookies and a little bag of bird seed tied with cardinal ribbon. It was a great afternoon with a great flock of quilters!

In keeping with the bird theme, Sandy brought along one of the penguins she has made from the pattern found at PurlBee. Several other bee members are making them too, Heather has 3 done and Sandra and I have several in various stages of completion. They are just so cute!